Well - the van has been bought and the modification to a road trip rig is in progress! Here are some photos of the "Before/After" work to get the sleep/storage platform in:
First, some pictures of Swanky, or Senor Swanky, as the van is more formally called, in general:
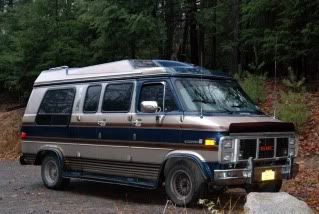
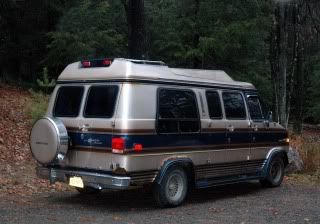
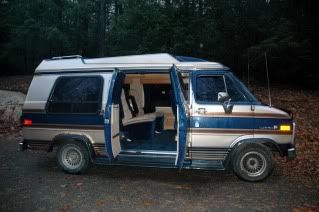
So, Ken, who worked as a trailhead assistant at the Mohonk Preserve this year, offered to help me out. He said he "had a few tools, and though he wasn't the greatest" carpenter.....hahaha. The guy did SUCH an awesome job! The platform has dado cuts, is sturdy as can be, and is shaped perfectly to contour to the van walls. He even did cutaways to allow me to more easily slide the curtains. It really is beautiful.
But what a lot of work! Two days of it!
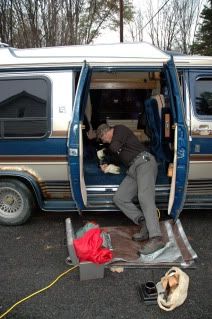
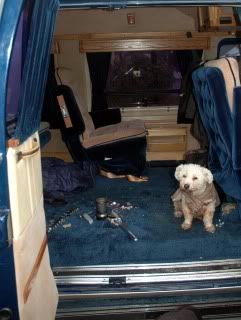
One seat out, and more to go....
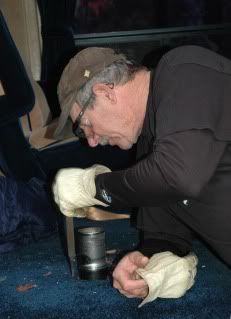
Here's Ken, having removed one captain's chair, and locating the bolts that hold the base to the van bed.
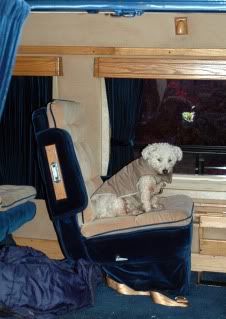
Teddy is wondering if he can keep this one. He found it most comfortable!
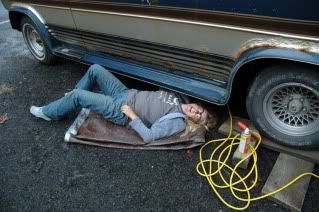
I would hold a vise grip pliers on the nut , while Ken cranked, and cranked, on the bolt heads. Those things were welded.
The captain's seats were bad enough, but the rear bench had 8 more bolts, and another 4 for the seat belts. Having already taken several hours, we elected to slice the belts, leaving the bolts/hanger in situ. The bench was held down by metal keepers, and so we loosened the bolts just enough to slide the keepers away from the seat base. Then we lifted the bench out. Sure, i bit of floor space is junked up with the left-in-place hardware, but all in all, well worth the effort spared.
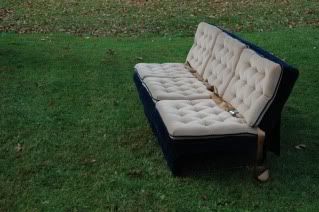
And what swanky seats they were! I tried to sell them on Craigslist, but with little time to wait, had no bites, and instead gave them to a climber who offered to take them though he couldn't pay anything.
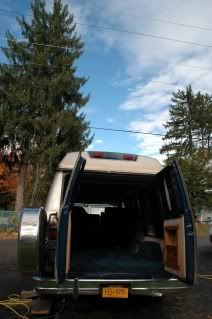
The van, emptied of the seats, and ready for the work to begin!
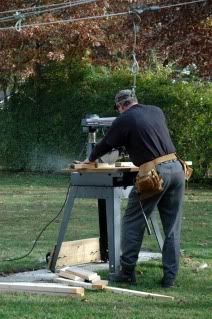
Ken manually cut each dado with his radial saw.
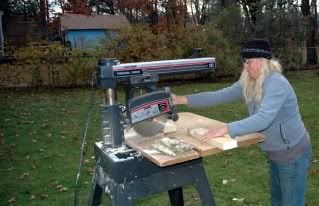
I would say I helped, but.....this was the only saw work I did; one dado. Fun!
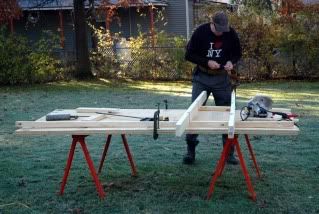
Sidewalls are done, ready to have legs joined
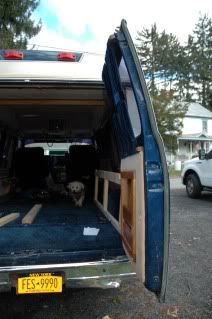
Here's one sidewall, set into place
Teddy was the foreman
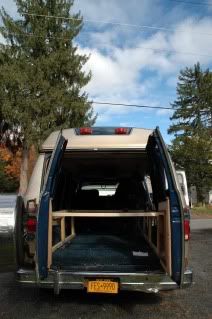
Both sidewalls in place, with cross bars in as well. Looking good!
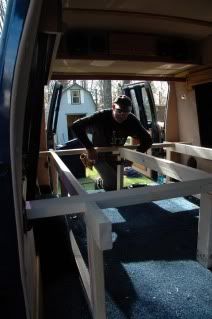
Adding the center support
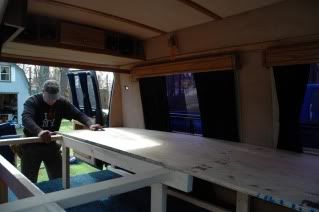
Ready for the plywood top
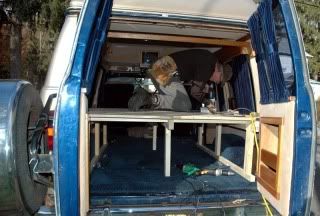
Lots of screws later, the top is secured. But NOT before many small adjustments were made to contour the shape EXACTLY to the van dimensions. This thing is a perfect fit.
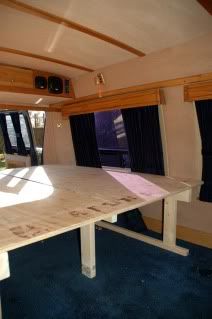
The platform is done! It will hold a full-sized mattress, with room along one side for small bins. Underneath, has 19 inches clearance - room for large bins. Still, because the van has a high-top, there is enough headroom to sit on the bed comfortably.
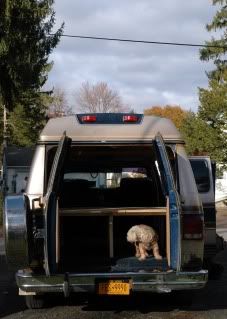
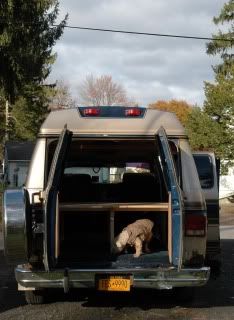
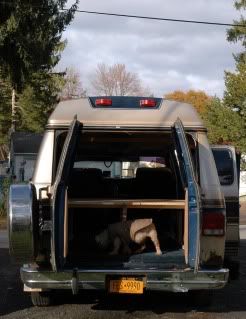
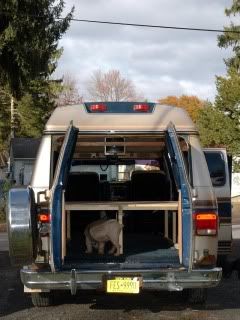
The foreman takes a final walk-through....
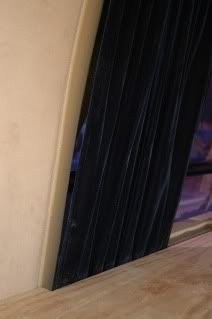
Ken did such an awesome job - He even cut away sections to make it so the curtains are not compressed by the platform edges.
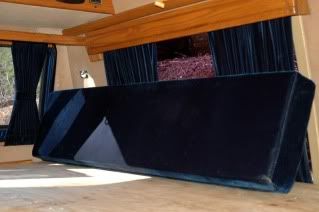
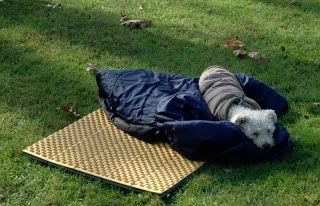
This cushion was part of the "before" set-up, where the bench folded flat into a bed-type of thing. The problem was that the clearance for storage below was was nowhere near enough to keep climbing and camping gear for a 5 month road trip. As well, the bed was about 3/4 sized. But the cushion I kept, and will place it atop the side storage bins. I can rest it upright as shown, place pillows in front, and it becomes a couch back!
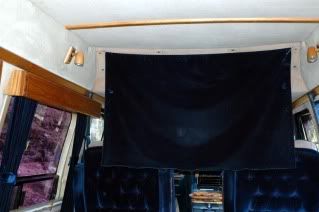
This fabric panel was also part of "before." It was sewn to the top/back of the rear bench, as if it were a cape. It hid the seat brackets and also camouflaged anything that might be stored beneath the bench. I simply ran a length of thin, stiff, accessory cord through a turned seam already in place, and tied loops at each end in an overhand knot.
The high-top has some little front windows, and they have snap-in-place covers to cut unwanted sunlight out. I unsnap the top, outermost corners, slip the loops on the "cape" atop the male part, and resnap the cover. That holds the lightweight fabric panel in place, and allows me to have a privacy screen from anyone who might be walking in front of the van.
Swanky!!!
Kudos to Ken K! What a truly generous man. He spent tow full days doing this work, and said he would take no payment. When I offered him 4 $25 gift certificates for the Gilded Otter, he accepted only one, and insisted on buying the other three from me.
My friend Pauline also gave me some wood, which was used for the legs of the platform. I've also saved some more for use in a side storage unit.
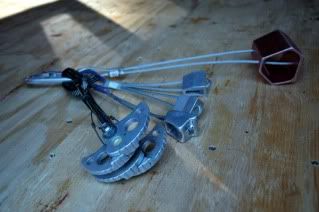
The guy who took the seats had no money, but he did come bearing a bit of booty, and gave me this gear in exchange. The cam is an Empire Rock, a bit bigger than blue BD Camalot, 3 nuts, a big hex, all on an old Chouinard biner. Nice!
So - that's that.... The van does have some issues, and is spending today and tomorrow at the mechanics. I was not happy to learn of these issues, but as they say - Caveat Emptor. I can blame no one but myself.
I plan to leave my little cabin in the woods, and head towards the desert southwest on Monday. I'm hoping to hit Joshua Tree, red Rocks, the Buttermilks, Cochise Stronghold, and Hueco Tanks, and some other places too. Hopefully, I will be back here at the Gunks, in my little cabin, caretaking at the Coxing Kill, in mid April of 2011.
Wish me well, and keep an eye on this blog, where I will post updates and links to updates I post elsewhere.
~~~~~~~~~~~~~~~~~~~~~~~~~ If you enjoy my blog and would like to subscribe through RSS, you can click the FeedBurner Badge here. Thanks for your support! ![]() Subscribe in a reader
Subscribe in a reader


2 comments:
That's a pretty sweet ride, Terrie! How much did it run you (the van and the wood work separately)?
Greg - the van was $1750, which is high for the year, I think. And there were some problems that needed immediate repair, which I was not aware of when buying. My own fault.
The build-out was very cheap. Two 3/4 plywood sheets and four 2x 4's, and a tube of wood glue, was all the materials I purchased. A friend gave me some lengths of 2x4 which were used on the legs. Otherwise another 2 x 4 would have been needed. And Ken had wood screws in his shop, so I didn't have to buy.
However - it took him 2 days to do the work. Getting the old seats out took 3.5 hours itself. If one had to pay someone market rate or even cheap labor rate, to do this work, they would have paid WAY more than the $25 in gift certificates that Ken accepted for this.
Post a Comment